
Our Blog

Professional Drain Cleaning Service: Is It Really Worth It?
June 20, 2023
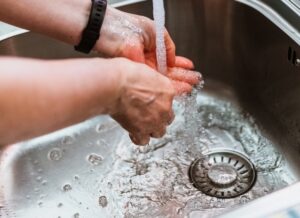
When faced with a stubborn clog, many homeowners contemplate whether to tackle the problem themselves or hire a professional drain cleaning service. Clogged drains can be a real nuisance, disrupting our daily routines, causing unpleasant odors, and potentially leading to more severe plumbing issues if left unattended. While the allure of saving money and taking matters into your own hands may seem tempting, it's essential to consider the potential risks... Read more »

What Does it Cost to Replace Plumbing in an Old House?
June 22, 2022
What does it cost to replace plumbing in an old house? The cost to replace the plumbing in an old house depends on several factors. In this article, we try to lay out a general idea of the financial impact it could have on your bank account. Buying an old house and fixing it up—it’s a dream for many people, whether they are first-time homeowners or real estate investors. Unfortunately,... Read more »
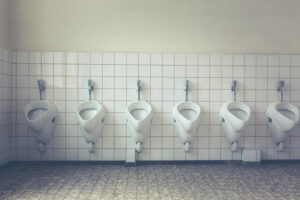
How to Unclog a Urinal: 3 Methods to Try
April 28, 2022
Not sure how to unclog a urinal? Try these three simple methods to get your urinal working properly again. A commercial property owner needs to know how to unclog a urinal because this is a typical building maintenance issue. It is common for urinals to become clogged in unisex and male restrooms. Although unclogging a urinal might seem like a messy undertaking depending on the state of the restroom, it's... Read more »

How Much Does Slab Leak Repair Cost?
March 23, 2022
How much will slab leak repair cost you? To answer this critical question, we need to lay out a few variables that contribute to costs. Here’s what to know. Deteriorating pipes underneath your home’s slab foundation can cause serious destruction if you don’t repair them quickly. Leaky pipes in your home can be expensive—not only do they raise your monthly water bill, but they can also cause permanent damage. When... Read more »

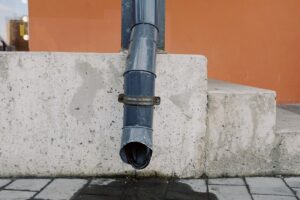
How to Find a Water Leak Inside a Wall: 5 Steps to Take ASAP to Prevent More Damage
March 5, 2022
Want to protect your home from water damage? In this article, we discuss how to find a water leak inside a wall so you can prevent a costly repair. When leaks go undetected for a long time, they can cause substantial damage to your home and your belongings. From crumbling drywall and bubbling paint, to rotting flooring, to mold infestation, the problems that come with a leak inside the walls... Read more »

Rerouting Plumbing after Detecting a Slab Leak
February 20, 2022
One of the worst plumbing problems you can face as a homeowner is a slab leak. In some cases, rerouting plumbing after detective a slab leak is necessary to fix the problem and prevent future damage to your home. Finding the slab leak and repairing the broken pipe can take a lot of time and energy. In some instances, you will have to cut or break the concrete slab itself... Read more »
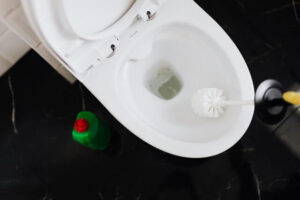
5 Different Types of Toilet Flanges
January 10, 2022
What are the different types of toilet flanges? One of the most important components in any bathroom is the toilet. Its position, shape, and even color can dictate the feel of an entire room. This blog post is a large compilation of different types of toilet flanges and their construction, so you might want to check it out if you've ever wondered which type your toilet uses! Before learning what... Read more »
Got Noisy Water Pipes? Here’s What Could Be Causing All the Racket
January 3, 2022
Is your plumbing making strange sounds? This article discusses what might be causing your noisy water pipes. Plumbing makes noise. It’s just a part of owning a home. But sometimes the sounds coming from your pipes might be difficult to ignore. Is it a sign of a malfunctioning plumbing system? Should you be worried about the potential damage? When excessive noises come out of your walls, your kitchen sink, and... Read more »
Avoid Paying for Plumbing Problems After Buying a House: 3 Tips
December 22, 2021
If you’ve read our first post on how to avoid buying a home with plumbing problems, you’re in luck. This is our follow-up article on how to avoid plumbing problems after buying a house. As with anything, prevention and inspection are key to avoiding mishaps. Don’t get stuck in a home with expensive plumbing repairs—follow these tips first. Plumbing Problems After Buying a House: 3 Tips Check the... Read more »
Clogged Pipes: 5 Tips for Food Preparation and Cleanup
December 17, 2021
Clogged pipes are a no-go when you have a house full of guests ready to eat or shower. Having to call a plumber in the middle of your party or gathering can be embarrassing and put a damper on your festivities. Instead of letting your guests undergo second-hand sheepishness, avoid the clogs altogether and follow these tips. 5 Tips to Warn Off Clogged Pipes Two of the biggest reasons... Read more »
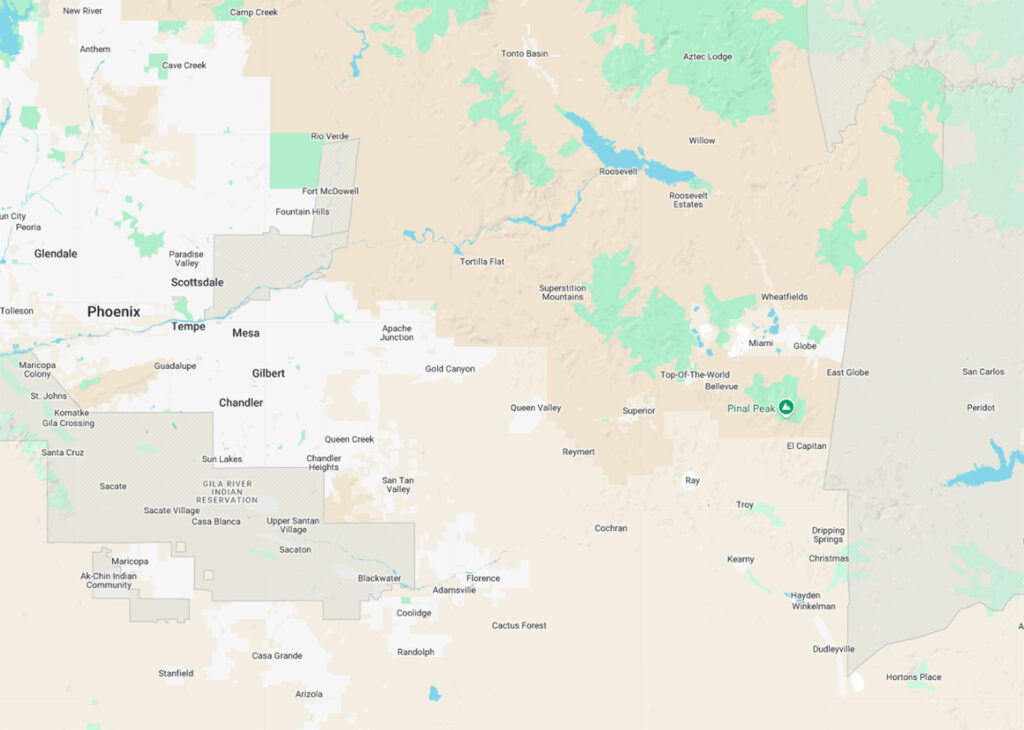
Proudly Serving Arizona Since 2001Apache Junction Avondale Buckeye Cave Creek Chandler El Mirage Gilbert Glendale Goodyear Mesa Peoria Phoenix Scottsdale Surprise Tempe
- Anthem
- Back
- Apache Junction
- Back
- Gilbert
- Back
- Mesa