
Our Blog

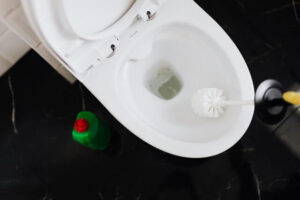
4 Reasons Your Toilet Is Slow to Fill
April 14, 2022
Toilet slow to fill? Find out why and what you can do to fix it in this article. When you flush your toilet, does it seem the water fills too slowly? Homeowners often encounter this issue. Many factors can cause this problem. No matter how minor or expensive your toilet problem is, identifying it will allow you to apply the correct solution so the toilet can work optimally as quickly... Read more »

Smelly Shower Drain? This Could Be Why
April 5, 2022
Got a smelly shower drain? Check out some of the reasons for the unpleasant odors here, as well as some helpful tips. A hideous smell from the shower drain will deter you from feeling clean. Showering is an essential part of the daily routine of most people. Getting into the shower is an expectation that you will smell the scent of soap. There are times when problems with the shower... Read more »

How Much Does Slab Leak Repair Cost?
March 23, 2022
How much will slab leak repair cost you? To answer this critical question, we need to lay out a few variables that contribute to costs. Here’s what to know. Deteriorating pipes underneath your home’s slab foundation can cause serious destruction if you don’t repair them quickly. Leaky pipes in your home can be expensive—not only do they raise your monthly water bill, but they can also cause permanent damage. When... Read more »

Your Sagging Sewer Line Is a Disaster Waiting to Happen
March 12, 2022
A sagging sewer line can become a serious problem if you don’t fix it. Here’s what you can expect. One flush. Two flushes. Three flushes. Four. Once again, you have found yourself standing next to the toilet, pushing the lever and staring as the you-know-what spins round and round but refuses to go down. Don’t worry, it’s not you—it’s your sagging sewer line. Then again, maybe you should worry. If... Read more »
5 Different Types of Toilet Flanges
January 10, 2022
What are the different types of toilet flanges? One of the most important components in any bathroom is the toilet. Its position, shape, and even color can dictate the feel of an entire room. This blog post is a large compilation of different types of toilet flanges and their construction, so you might want to check it out if you've ever wondered which type your toilet uses! Before learning what... Read more »

What Is Involved in Repiping a House? A Beginner’s Guide
July 25, 2021
Sometimes a home’s plumbing has to be replaced. Wondering what is involved in repiping a house? This article explains. Unless your home is a cabin in the woods with no running water (or if you live—to quote the late, great Chris Farley—in a van down by the river), you are going to have to deal with plumbing issues at some point. For some, that means fixing a leaky pipe or... Read more »

Is Hydro-Jetting Safe for Pipes? 3 Mishaps to Avoid
July 8, 2021
Is hydro-jetting safe for pipes? Hydro-jetting is an excellent solution for serious plumbing blockages. But is it always safe for your pipes? We break it down for you here. Sometimes plungers and drain snakes just don’t cut it for tough drain clogs. When you need to break through a blockage so your water can drain properly, it may be necessary to try a high-pressure tool—instead of poking a hole through... Read more »

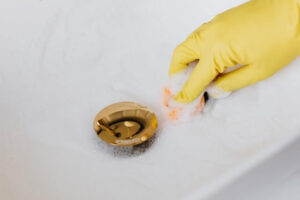
How Often Should a Wax Ring Be Replaced on Your Toilet?
June 28, 2021
How often should a wax ring be replaced on a toilet? It’s a simple question, but don’t be fooled. Things can get complicated. Here’s what to know. Every toilet in your home has a wax ring connecting it to your plumbing, which creates a waterproof seal to keep what goes down to the sewer from seeping out the sides. This piece of equipment usually lasts as long as the toilet,... Read more »
Health Hazard: How to Get Rid of Biofilm in Pipes
June 8, 2021
Curious about how to get rid of biofilm in pipes at home? This guide will walk you through the process. Have you seen it? That slimy goo around your shower drain might seem like nothing more than a gross annoyance. After all, sometimes drains and plumbing fixtures just get…nasty. Right? If you want to know the truth, though, if you let that slippery substance go for too long, it could... Read more »

Don’t Flush Your Mistletoe…And Other Holiday Plumbing Tips
December 10, 2020
These plumbing tips could help you avoid a disaster this holiday season. Need an expert in a pinch? Contact Custom Plumbing of Arizona today! It’s the most wonderful time of the year, so why would you want to spend any of it dealing with plumbing issues? Unfortunately, with all the holidays throw at us, many people experience plumbing emergencies during the festive season. Want to reduce your chances of a... Read more »
Proudly Serving Arizona Since 2001Apache Junction Avondale Buckeye Cave Creek Chandler El Mirage Gilbert Glendale Goodyear Mesa Peoria Phoenix Scottsdale Surprise Tempe
- Anthem
- Back
- Apache Junction
- Back
- Gilbert
- Back
- Mesa